Unleashing Autonomy: Updating n8n
How to update to the latest version using Docker Desktop

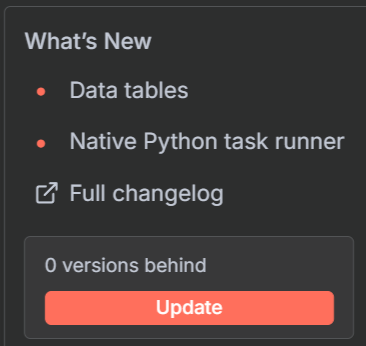
You may have noticed that n8n is not up-to-date, and you may have seen something like this in you n8n dashboard.
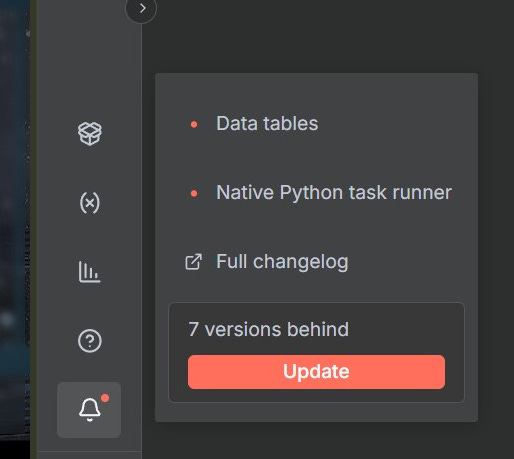
The trouble is, when we deployed n8n it uses the ‘latest’ container image. Unfortunately, the ‘latest’ doesn’t contain any of the beta options and we need to deploy the ‘next’ version to get all of the extra goodies we need.
Now I could show you how to use the command line to update this but the quickest way is just to delete the images you have downloaded and delete the container and do an install again. Your data and workflows will be safe as we saved those in a custom directory.
This process should take less than 5 minutes
So, first of all, stop the container running and delete that, then head on over to images and delete the n8n image there. Then will head back to the container tab and at the top search for n8nio, and choose ‘next’
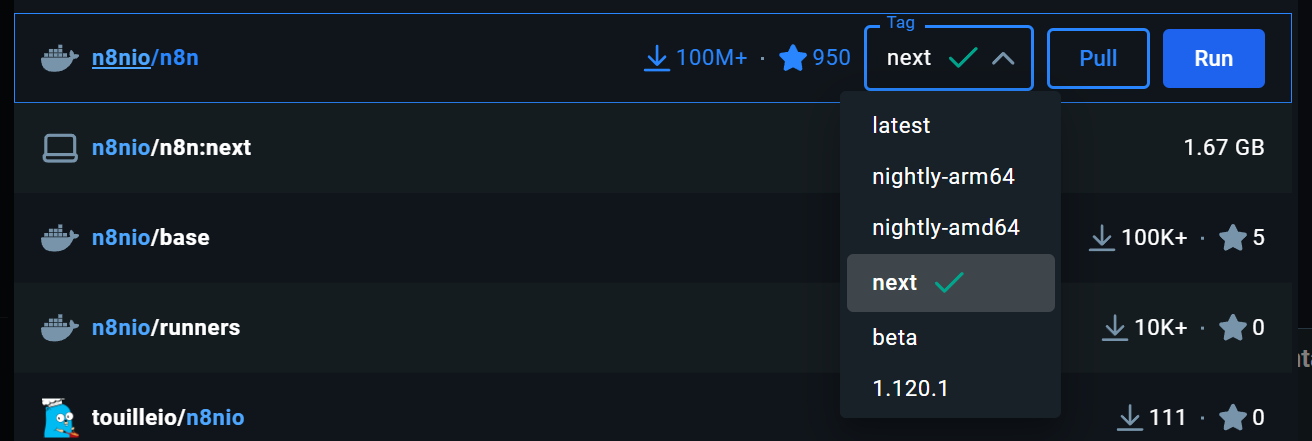
Then press the pull button.
Once this has finished, head back to the images section and you should see you have an image.

And the tag says next.
Click on the run and choose the dropdown for Optional settings.
Enter the same details like you did last time:
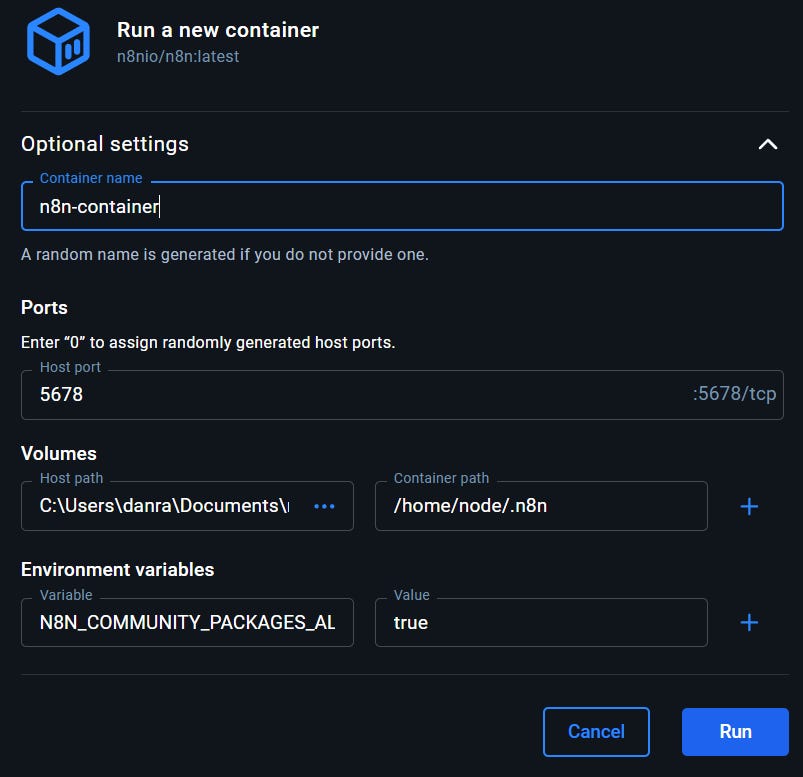
Enter the information as it appears in the screenshot above, choosing the folder you previously created in the Volumes/Host path section and put /home/node/.n8n in the Container path.
In the Environment variables paste in the following…
N8N_COMMUNITY_PACKAGES_ALLOW_TOOL_USAGE
and enter true for the value. This will enable access to all of the community nodes when we need them.
That’s it for now, click Run.
In a f ew seconds you should have the latest version running. You can check and you should see the following: