

Unleashing Autonomy: First Steps 3
Putting it together

In the first article we fetched the weather for a city, today we are going to run that on a schedule and email ourself the temperature and weather details every morning. We will be doing this with the Gmail credentials you previously set up.
I want to show you this simple workflow because there is a core concept I want to share that will make your development easier, and that is pinning, and I will get into that now.
First of all, go to your workspace and Execute your workflow. Both boxes should be ticked.
On the weather node I want you to click the three dots at the top of it and select pin.
What this does is caches the data you fetched so that you don’t have to keep calling the API every-time you are testing your workflow. This is useful, if you are paying for API access such as with ChatGPT or other LLM when you are trying to create a complex workflow and using a lot of tokens.
Once you click pin, the tick should change to a pin icon.
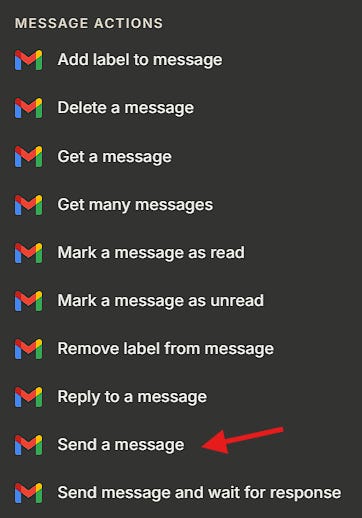
Now we need to add a Gmail node, click the plus icon in the top right and search for Gmail, then choose the Send A Message option.
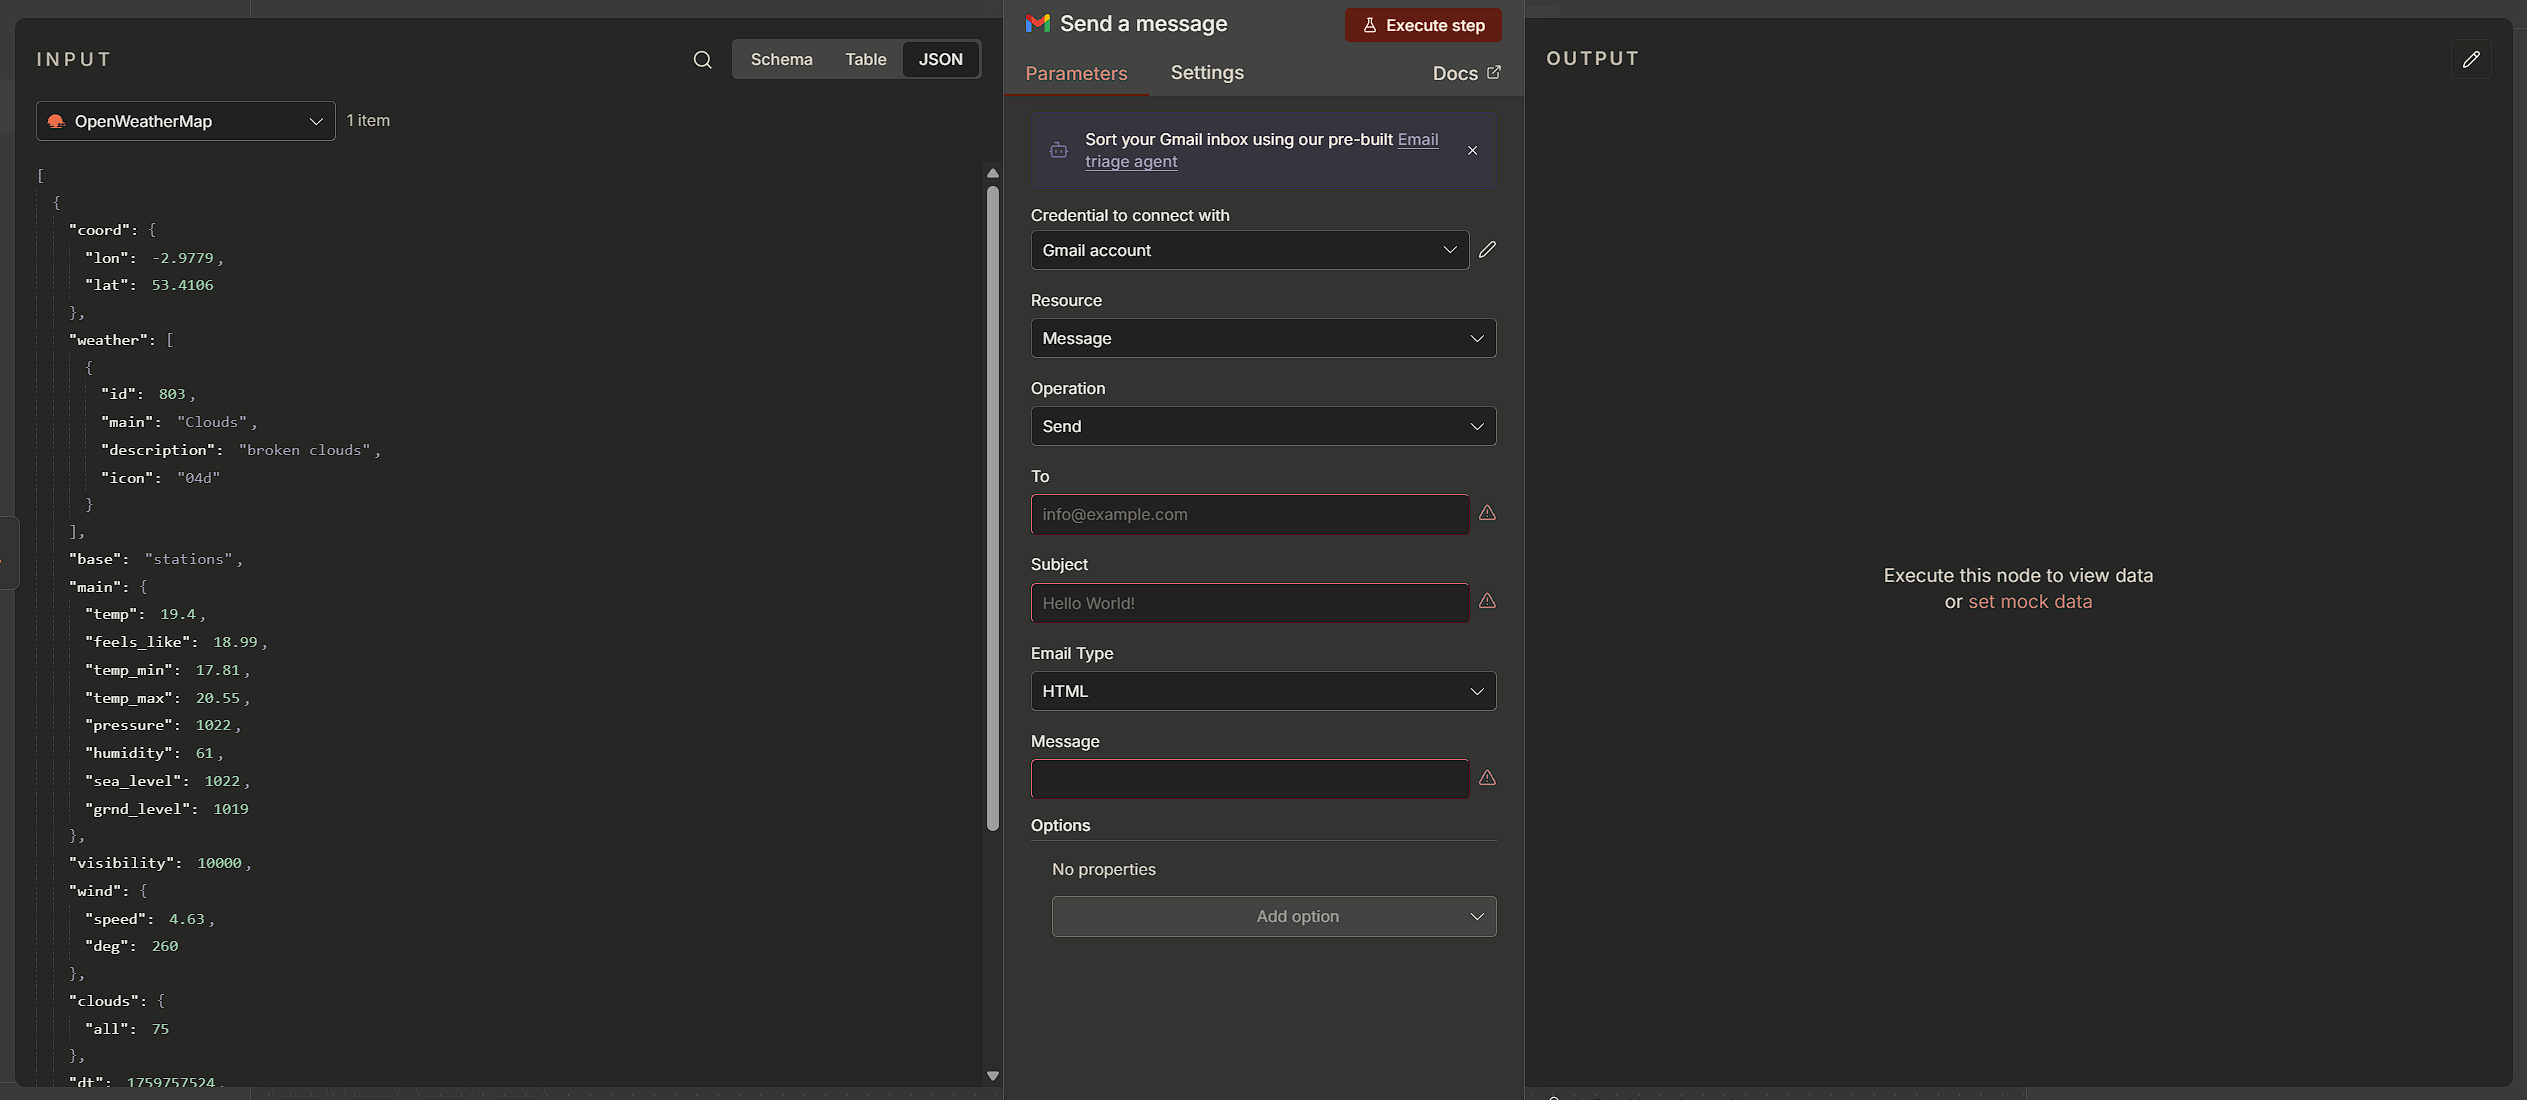
It will open up a box where we are going to set up a message, but first hit escape to go back to the workflow.
Connect the weather node with the Gmail node, and now open the Gmail node again, you should see three panes, the input pane on the left, the Gmail pane in the middle, and the output pane on the right.
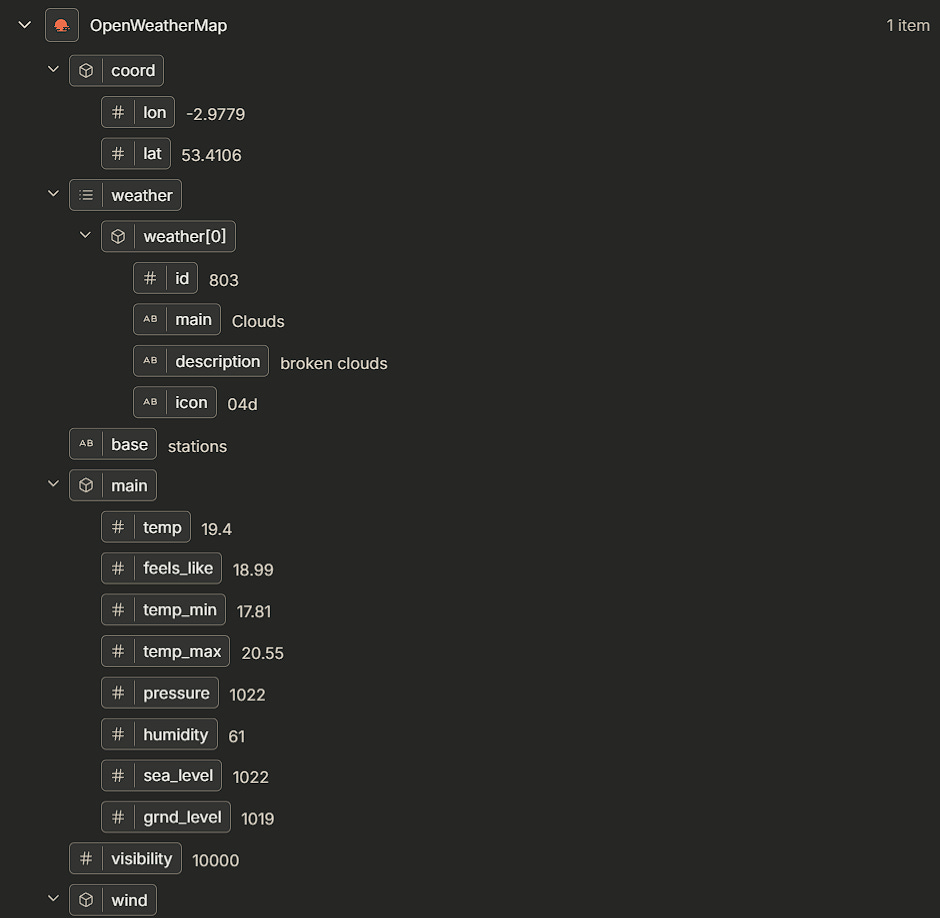
So the input pane shows use the output from the weather node, by default it is in JSON format, but to make life easier you can click on Schema mode and you should get something like this:
Let’s set up Gmail. Choose the credentials you previously set up and add your email address to the To section and a Subject. We will get to the Message section shortly but for now click on the Add Options and turn off the Append n8n Attribution otherwise you will get an annoying message at the bottom of every email you send.
Now on to the wiring up, this is the core of how everything works in n8n, in the message section you can drag items from the input pane to create your message, here is what mine looks like.
(HINT: if you click the little pop-up box in the bottom right of the messages box, you get a screen like this which makes it easier to edit in).

I dragged in the Name, Description, Temperature, and Feels_Like and Temp_Min options from the left had side, and it inserted the correct JSON for them.
This is the final message:
Hi Dan, the weather in {{ $json.name }} today is {{ $json.weather[0].description }} with a high of {{ $json.main.temp }} but feels like {{ $json.main.feels_like }}, the overnight low is going to be {{ $json.main.temp_min }}
Which will give an output like this:
Hi Dan, the weather in Liverpool today is broken clouds with a high of 19.4 but feels like 18.99, the overnight low is going to be 17.81
Hit the close button (top right) and click on Execute Step and in the output paneyou should see this:
0:SENT
Go and check your email. You should have your weather forecast as an email.
Now for the final step. Setting up a schedule.
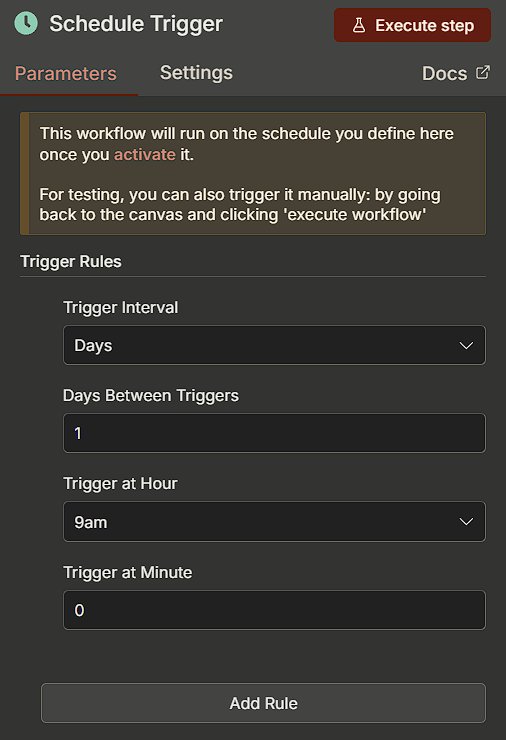
Go back to your main workflow window and add another node, search for Schedule Trigger.
Fill in the details for when you want your weather workflow to run.
All that you need to do now (you don’t need to execute this), is go back to your workflow, delete the Manual Trigger, and connect the Schedule Trigger to the weather node.
The pinned data is not used when the workflow is active, but for good measure, make sure you unpin it before saving and clicking the radio button at the top to make it active.
There you go, your first simple automation.
100% done and dusted... great result Dan...
OK, nothing but net! Phew. What's next?