

Unleashing Autonomy: First Steps 1
Let's create our first workflow in n8n

n8n can appear overwhelming at first, so to begin with I want to create a simple automation to show you the basics, and provide some tips. As we go through some examples we will get into more complex workflows including building your first AI tool, then we will start automating our content engine.
Let’s start with some basics.
n8n automations always start with a trigger. This can be a webhook call, on a schedule, when a form gets submitted, when a chat takes place, when you receive and email, and a whole bunch more.
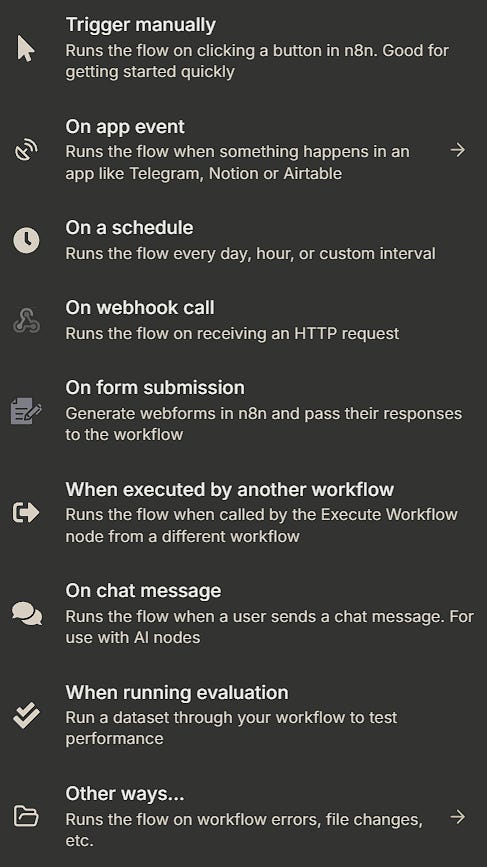
Pro Tip: When designing and testing your workflow, I suggest you start with a manual trigger, this is not immediately visible in the above list, so search for Manual Trigger at the top and select the result.
Next we are going to call an app. Click the plus icon in the top right, and select Action in an app.
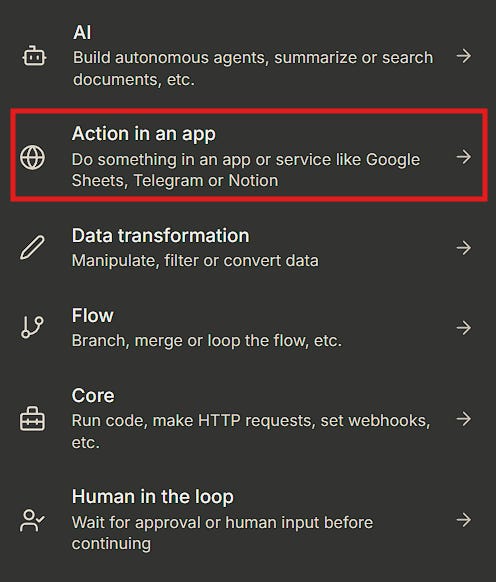
The type weather, and choose the OpenWeatherMap application. Finally choose Return current weather data. What you are going to be doing here is grabbing weather data for a specific location.
Currently you don’t have an API key to access this, so choose Create new credential.
You will see this screen.
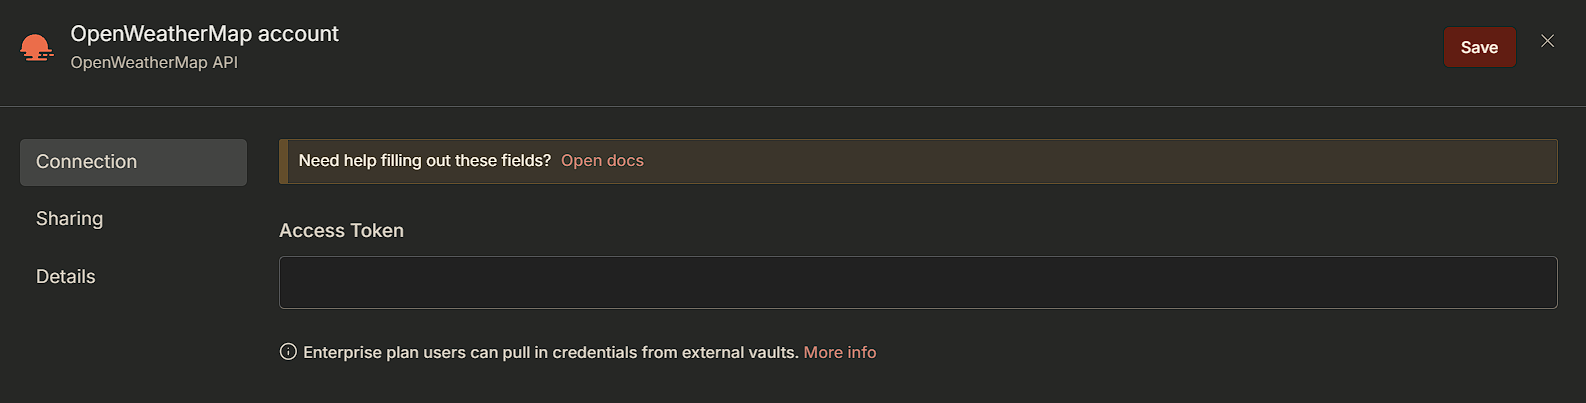
If you click on the Open docs, it will tell you all about this app. But what you basically need to do is go to the following link.
https://openweathermap.org/api
And subscribe. Don’t worry, you can make 1,000 calls per day for free. Once you have your key you can the paste it back in to n8n. There you go, you have first credential setup in n8n. (don’t forget to save it)
Over time, you will have a bunch of these at your disposal and you won’t need to interrupt your workflow adding new ones.
Next, fill in the rest of the details with your city and country of choice.
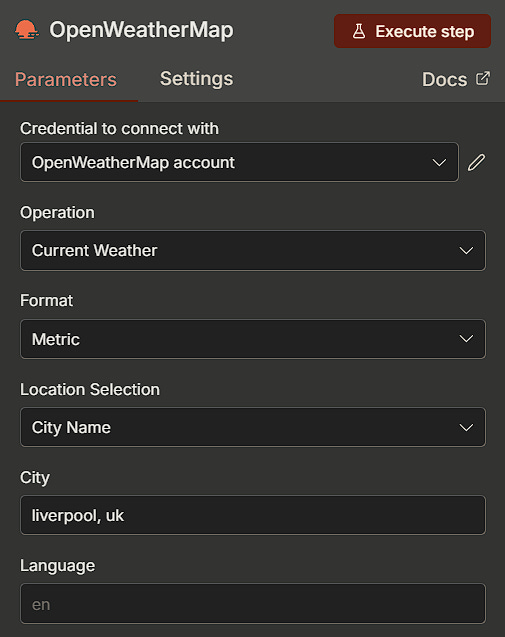
Then click on the Execute step at the top and you should see an output window appear which will look something like this.

If that worked for you then hit escape and go back to your canvas. Then simply join the two nodes together so you get something like this:
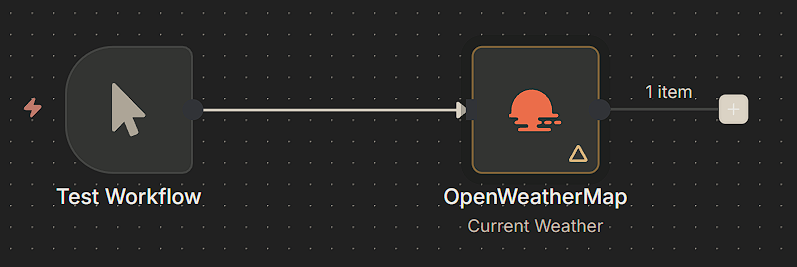
Click Execute Workflow at the bottom and you should get ticks in each node.
And there you have it, you have created your first workflow. Not the most exciting mind, but will will build on that next, and I will show you how to import custom workflows I have created in to n8n.
And another worked... :)
Alright! Good to go. Bring on the next episode. :)